Raspberry Pi4でWineを起動する
はじめに
先日ついにRaspberry Piを買いました。
早速やってみたのはWineの起動です。
これができればあのWindowsの神ゲーがいつでもどこでもできるのでは?
と思ったので試してみました。
しかし、普通にはRaspberry PiでWineは起動できないそうです。
理由はアーキテクチャの違いでRaspberry PiはARMアーキテクチャなんですが、
Wineが対応していないようです。(知らなかった…)
調べてみると、qemuを使ってx86アーキテクチャをエミュレートすることで、
起動することができるようです。
僕が参考にしたのはこちら
のサイト様なんですが、
コメントにあるように僕もBus errorが発生してうまくいきませんでした。
原因はRaspbianリポジトリのqemuバイナリがバグのある古いバージョンだからだそうですが、
新しいバージョンにしてもうまくいかなかったです。
じゃあUbuntuでやればいいんじゃない?そっちの方が慣れてるし。
というわけでやってみたらうまくいったので手順を投稿します。
Raspberry Pi初期セットアップ
ラズパイ本体とその他必要なものはamazonで揃えました。
【国内正規代理店品】Raspberry Pi4 ModelB 4GB ラズベリーパイ4 技適対応品
電源などは以下のいろいろセットになっているのを買いました。
1つずつ探してるとめっちゃ迷っちゃたのでこれにしちゃいました。
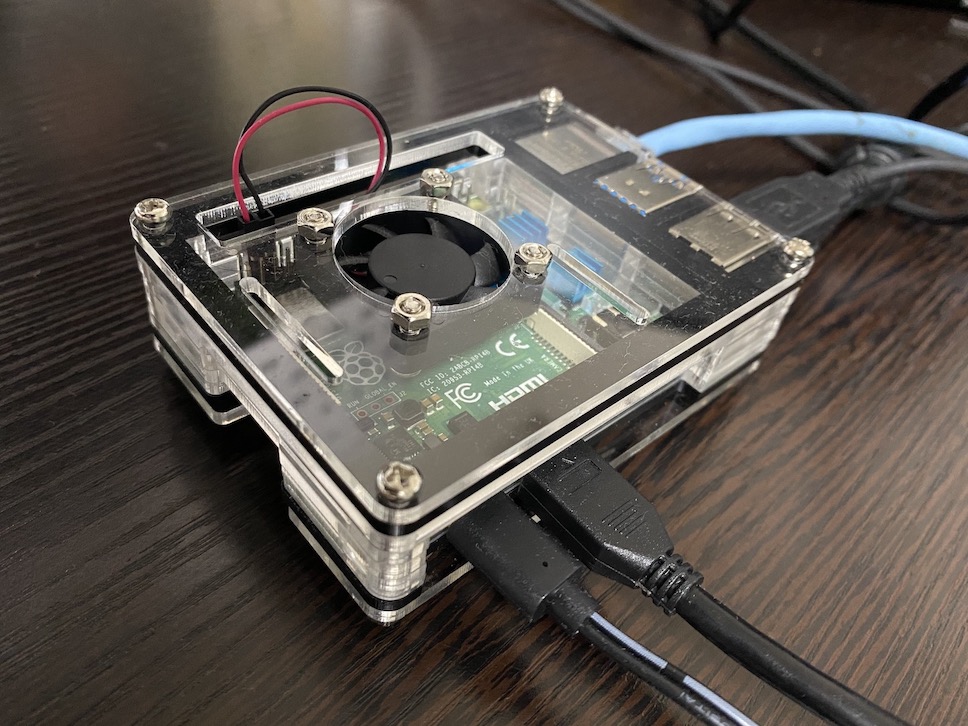
Miuzei 最新Raspberry Pi 4 ケース ラスベリー パイ 4 ケース+ 冷却ファン+ヒートシンク Raspberry Pi 4 Model B対応(Raspberry Pi 4 Model B 本体含まりません) (電源付き)
他にはUSBキーボードとかも必要ですね。
ちなみにケースを組み立てたらこんな感じになりました。
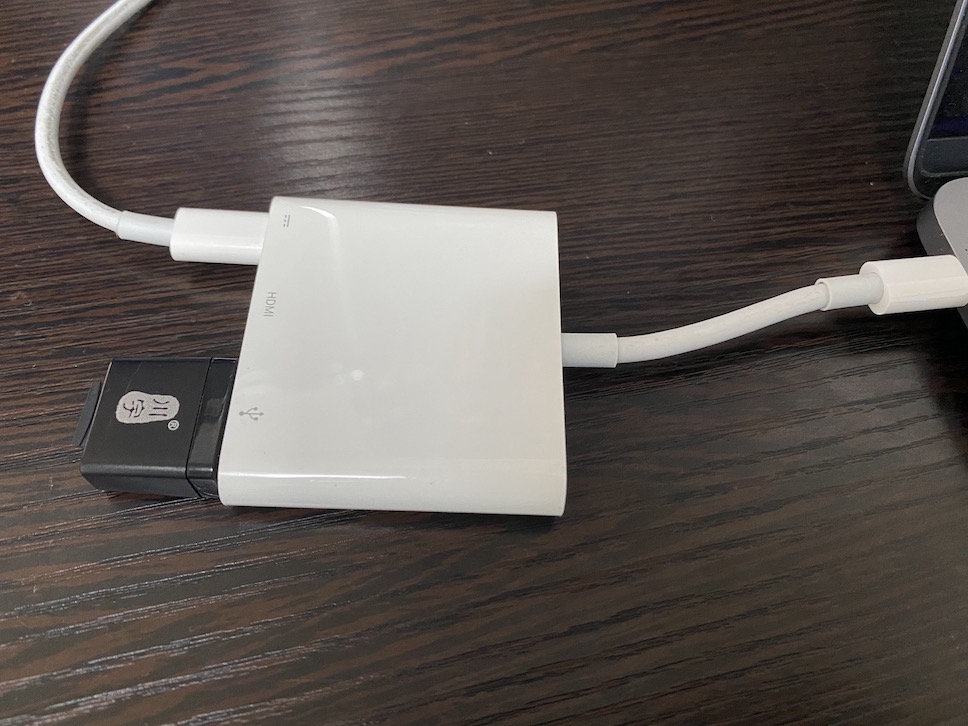
OSのインストールはRaspberry Pi Imager
でやりました。
Macbook Airで変換器を使って無事認識しました。
ちなみにMicroSDに何かデータが入っていましたが、ESETでウイルススキャンしても
特に脅威は見つかりませんでした。ならヨシ!
Ubuntu 20.04 LTS (Raspberry Pi 2/3/4) 32bit serverを書き込みます。
何度も最初からやり直すというのがやりやすいですね。便利。

書き込んだら、HDMIをディスプレイにつなげて起動確認します。
しばらく待ったらSSH鍵を作成した感じの画面が出るので、
ユーザ名:ubuntu
パスワード:ubuntu
でログインしてください。
僕はログインしてIPアドレスを確認した後、SSHで作業しました。
まずは最新化してGUIをインストールします。
ubuntu@ubuntu:~$ sudo apt update
ubuntu@ubuntu:~$ sudo apt upgrade
ubuntu@ubuntu:~$ sudo apt install ubuntu-desktop
ubuntu@ubuntu:~$ sudo reboot
ちなみに、バージョンなどを確認したら以下のようになっていました。
ubuntu@ubuntu:~$ cat /etc/os-release
NAME="Ubuntu"
VERSION="20.04.1 LTS (Focal Fossa)"
ID=ubuntu
ID_LIKE=debian
PRETTY_NAME="Ubuntu 20.04.1 LTS"
VERSION_ID="20.04"
HOME_URL="https://www.ubuntu.com/"
SUPPORT_URL="https://help.ubuntu.com/"
BUG_REPORT_URL="https://bugs.launchpad.net/ubuntu/"
PRIVACY_POLICY_URL="https://www.ubuntu.com/legal/terms-and-policies/privacy-policy"
VERSION_CODENAME=focal
UBUNTU_CODENAME=focal
ubuntu@ubuntu:~$ uname -a
Linux ubuntu 5.4.0-1015-raspi #15-Ubuntu SMP Fri Jul 10 05:37:25 UTC 2020 armv7l armv7l armv7l GNU/Linux
Wineインストール
手順はどちらかというとこちら ベースですね。
ubuntu@ubuntu:~$ sudo apt-get install qemu qemu-user qemu-user-static binfmt-support debootstrap binutils
4.2.0がインストールされました。
ubuntu@ubuntu:~$ qemu-i386-static --version
qemu-i386 version 4.2.0 (Debian 1:4.2-3ubuntu6.3)
Copyright (c) 2003-2019 Fabrice Bellard and the QEMU Project developers
続けます。
対象のアーキテクチャがホストのアーキテクチャと一致しない場合、
一旦foreignオプションを使って、
その後second-stageオプションでブートストラップを仕上げるらしいです。
ubuntu@ubuntu:~$ sudo mkdir /x86/
ubuntu@ubuntu:~$ sudo debootstrap --foreign --arch i386 stretch /x86 http://ftp.us.debian.org/debian
ubuntu@ubuntu:~$ sudo mount -t sysfs sys /x86/sys/
ubuntu@ubuntu:~$ sudo mount -t proc proc /x86/proc/
ubuntu@ubuntu:~$ sudo mount --bind /dev /x86/dev/
ubuntu@ubuntu:~$ sudo mount --bind /dev/pts /x86/dev/pts/
ubuntu@ubuntu:~$ sudo mount --bind /dev/shm /x86/dev/shm/
ubuntu@ubuntu:~$ sudo cp /usr/bin/qemu-i386-static /x86/usr/bin/
ubuntu@ubuntu:~$ sudo chroot /x86/ /debootstrap/debootstrap --second-stage
debianのセットアップに入ります。
ubuntu@ubuntu:~$ sudo chroot /x86/ /bin/su -l root
root@ubuntu:~# echo "export LANGUAGE='C'" >> .bashrc
root@ubuntu:~# echo "export LC_ALL='C'" >> .bashrc
root@ubuntu:~# echo "export DISPLAY=:0" >> .bashrc
root@ubuntu:~# source ~/.bashrc
root@ubuntu:~# apt update
root@ubuntu:~# adduser -uid 1000 pi
Adding user `pi' ...
Adding new group `pi' (1000) ...
Adding new user `pi' (1000) with group `pi' ...
Creating home directory `/home/pi' ...
Copying files from `/etc/skel' ...
Enter new UNIX password:
Retype new UNIX password:
passwd: password updated successfully
Changing the user information for pi
Enter the new value, or press ENTER for the default
	Full Name []:
	Room Number []:
	Work Phone []:
	Home Phone []:
	Other []:
Is the information correct? [Y/n] Y
root@ubuntu:~# apt install leafpad
root@ubuntu:~# exit
exit
ubuntu@ubuntu:~$ sudo chroot /x86/ /bin/su -l pi
pi@ubuntu:~$ echo "export LANGUAGE='C'" >> .bashrc
pi@ubuntu:~$ echo "export LC_ALL='C'" >> .bashrc
pi@ubuntu:~$ echo "export DISPLAY=:01" >> .bashrc
pi@ubuntu:~$ source ~/.bashrc
pi@ubuntu:~$ exit
exit
ubuntu@ubuntu:~$ sudo chroot /x86/ /bin/su -l root
root@ubuntu:~# apt install wine
root@ubuntu:~# exit
exit
ubuntu@ubuntu:~$ sudo chroot /x86/ /bin/su -l pi
ここでバージョンを確認します。
投稿時点ではこうなるようです。
pi@ubuntu:~$ cat /etc/debian_version
9.13
pi@ubuntu:~$ wine --version
wine-1.8.7 (Debian 1.8.7-2)
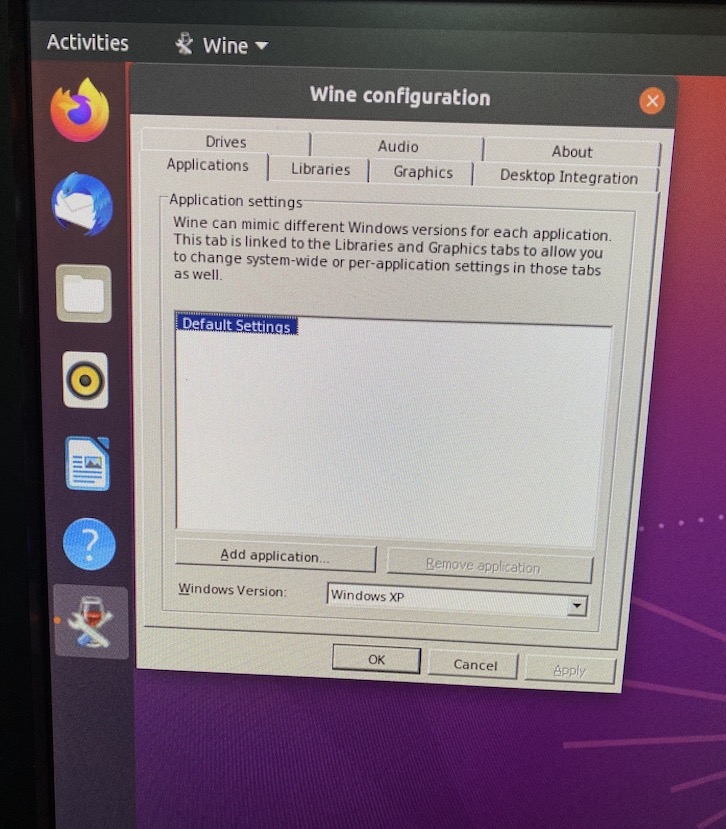
そしてwinecfgを実行すると、
pi@ubuntu:~$ winecfg
wine: created the configuration directory '/home/pi/.wine'
err:ole:marshal_object couldn't get IPSFactory buffer for interface {00000131-0000-0000-c000-000000000046}
err:ole:marshal_object couldn't get IPSFactory buffer for interface {6d5140c1-7436-11ce-8034-00aa006009fa}
err:ole:StdMarshalImpl_MarshalInterface Failed to create ifstub, hres=0x80004002
err:ole:CoMarshalInterface Failed to marshal the interface {6d5140c1-7436-11ce-8034-00aa006009fa}, 80004002
err:ole:get_local_server_stream Failed: 80004002
Could not load wine-gecko. HTML rendering will be disabled.
wine: configuration in '/home/pi/.wine' has been updated.
errorだらけ!
けどGUIで確認すると起動してました。ならヨシ?
しかし、こんな小さいのに普通にパソコンですね!
自宅サーバーをラズパイに移行しようかなぁ。場所取らないし。
思いの外苦労したので、ひとまずここまで。
次は本命のWindowsゲームの起動を試してみたいと思います。
そもそもWine使ったことないので、まず使い方から調べないとですねー。